This article is about the new SketchUp tool VR that is a very useful helping hand for the science fiction fans and have some really great features. But it works on SketchUp’s latest versions. Here is some information about the working process in VR. Here are also some reviews about the working features of VR; it is a smart simple and useful tool. The getting process, the inside view all are described here for the readers.
VR or Virtual Reality has been a dream of science fiction fans for decades and at last it has appeared. It is mainly a multi-sensory computer simulated visual environment which allows users to immerse themselves and interact with 3D worlds. Innovates from all over industries are now using this technology for telling stories and taking users on a far away adventure. SketchUp is one of the world’s well known popular 3D modeling programs. There is a wide variety of industries here like architecture, interior design, landscape architecture, and film and product design. They all are depended on the program for bringing their ideas to life. For viewing SketchUp models, right hardware and prospect is necessary.
Getting Ready to Go Into VR: At first check that the file can be viewed in Prospect, as VR only works in SketchUP 2014-2017 and also check if there is the accurate geolocation set in the file. Actually Geolocation in SketchUp is for informing the ability for adjusting Sun Settings in VR and perfect asses glare and shadows that casts from the natural light entering in the place. For viewing different scenes in the model or jumping between different rooms always make sure to have a number of clearly named Scenes set up as well. In the next step, configure the workstation for the virtual reality by checking that the headset is either an HTC Vive or Oculus Rift and then open the Prospect in the desktop. After opening the prospect, drag and drop a SketchUp file into the dropzone or find and upload the file by simply clicking the “Browse” option. After the file get selected, click the “Launch” option and for going to VR is ready.
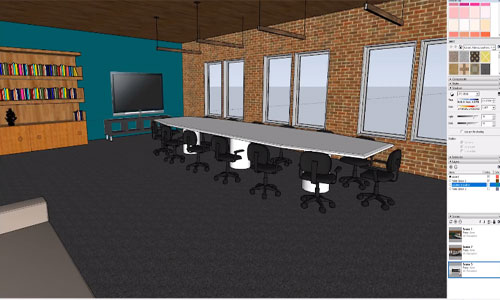
Inside the 3D model: After entering the VR the first thing will appear that the loaded model is in front in the Scale Model Mode. There one can rotate, scale and section their model for better view in the enclosed areas. By pressing the menu button on the controller for toggling on tooltips while in VR the user and clients both get familiarized with the various features. To enter in the models inside at 1:1 scale, select “Navigate” on the menu for teleporting you in. after entering one can explore the model and begin the mesmerizing review.
In- Vr Tools for Immersive Review: There are many tools available for helping to produce actionable next steps and valuable design insights from the users time spent on reviewing the model in-VR.
• Sun Settings: This tool use the actual geolocation that you have set up in the original Sketchup file for displaying the accurate lightning and shadows. By adjusting the time and date it allows user for making informed decisions about windows, lighting and to do shadow studies.
• Viewpoints: They are like the camera views that are located within the model. It is a best way to walk a client or colleague through a project by creating a solid narrative about the space. Prospect uses Scenes from SketchUp for creating Viewpoints. These viewpoints can be navigated between from both scale Model Mode and in the model.
• Layers: It can be advantaged to easily and effectively showcase the various design options, material combinations or can also walk through fully different layouts. The associated layers with groups can be automatically pulled into Prospect from SketchUp. By turning of the visibility the layers will be kept off.
For more information and video visit blog.irisvr.com
~~~~~~~~~~~~~~~~~~~~~~~~~~
Published By
Rajib Dey
www.sketchup4architect.com
~~~~~~~~~~~~~~~~~~~~~~~~~~
No comments:
Post a Comment