This sketchup tutorial will provide useful guidance on
how to apply the advance camera tools inside sketchup to create an accurate
framing of any scene.
As this toolbar can’t be enabled by default, one has
to go to view and select toolbars and click on advanced camera tools and enable
it.
In some sketchup versions, the Advanced Camera Tools tool is
demonstrated as an extension, therefore it is required to go to the Extension
Warehouse and download this extension. While going to download this extension,
you should be logged in or else an error message will be shown on the page.
After the download is completed, go to EXHENSION MANAGER WINDOW and activate
the plugin.
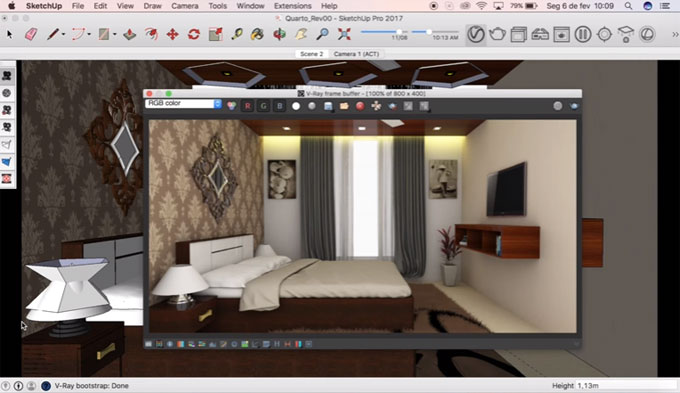
It will put forward a toolbar in the interface. Just click
the button with a camera and a "+" sign that will be produced by your
camera. Set up your camera with the exact parameters suitable for your scene
and you'll get a viewport view similar to the one you'll render.
The Advanced Camera Tools (ACT) are specifically
developed toward people in the film and television industry who employ SketchUp
pro to generate storyboards, design sets, visualize scenes, and plan locations.
ACT can be used to arrange real-world cameras in your SketchUp models and
preview real camera shots.
No comments:
Post a Comment