Sunday, August 31, 2014

SketchUp has become an invincible tool of film making and set designing

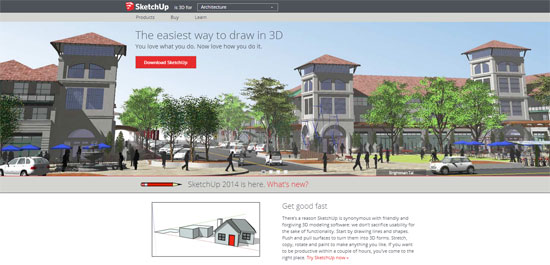
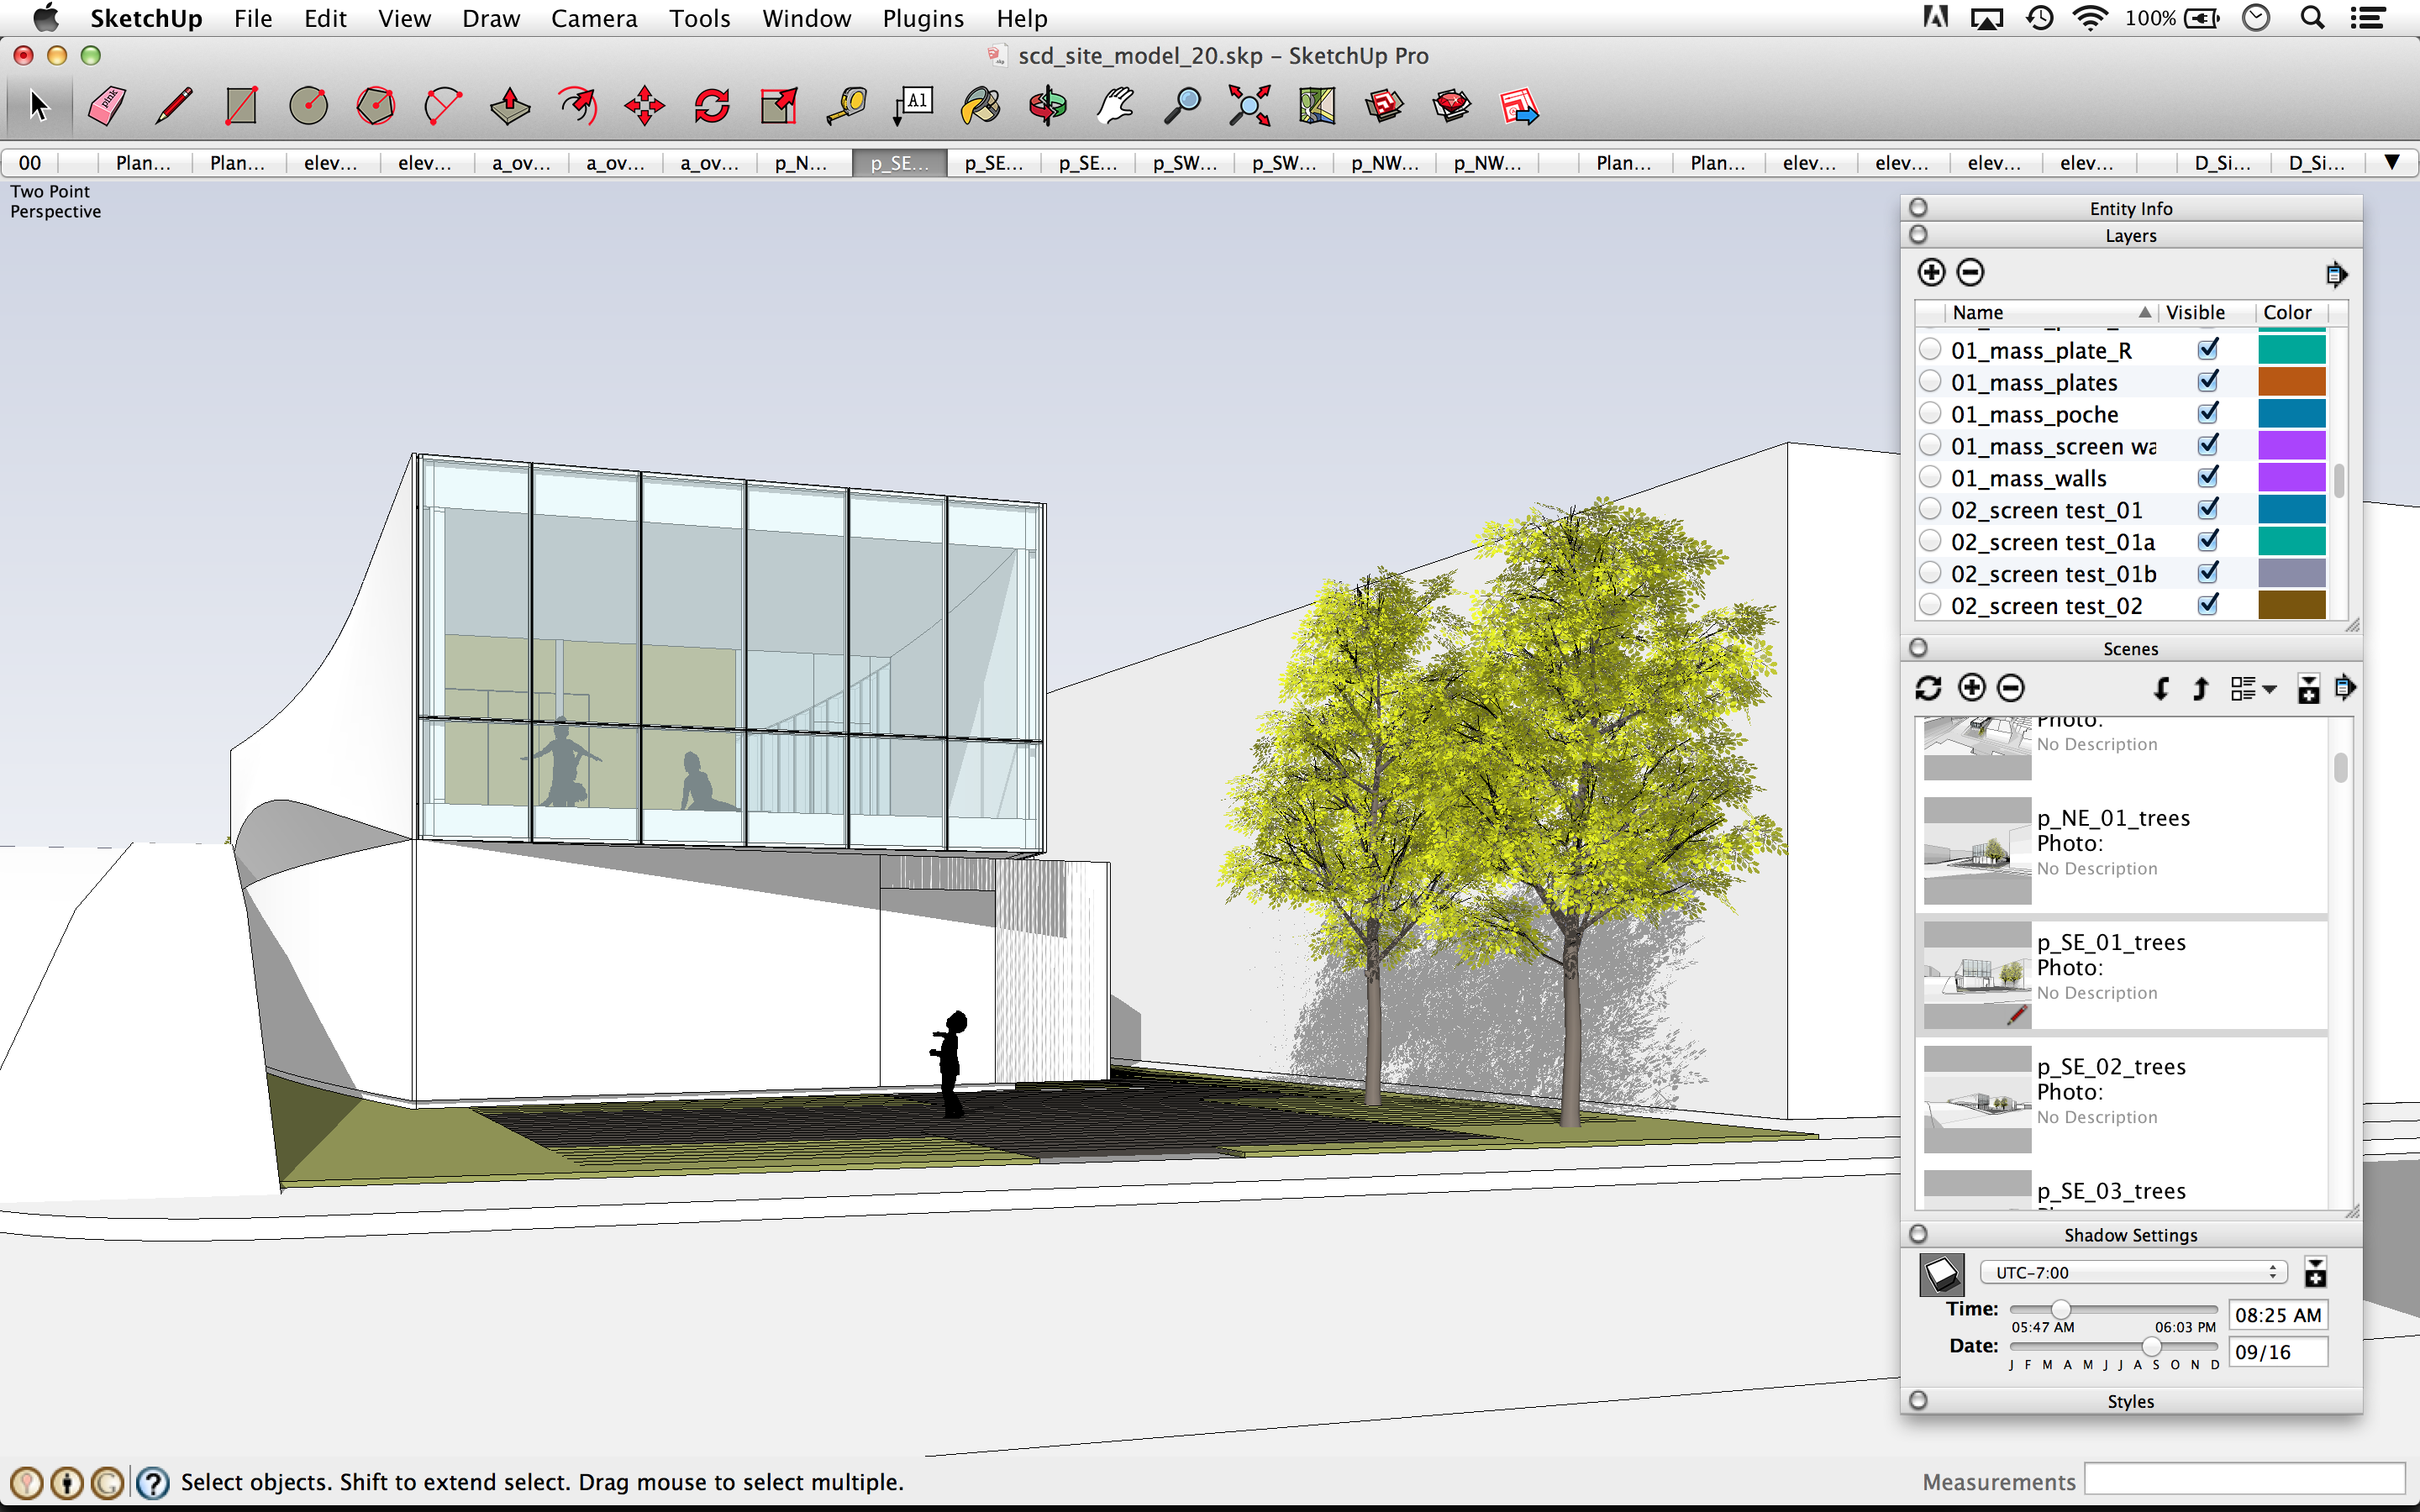
SketchUp, the exciting 3D modeling programme has ushered a new era of film making. The creative heads behind the screen prefer SketchUp as their best tool to produce the on-screen magic. The Film and Stage plug-in option is a great way for film makers and directors to pre-visualize shots and scenes in SketchUp.

Let us draw some quick examples. Remember that Steven Spielberg’s science fiction film E.T., the Extra Terrestrial released in 1982? A lonely boy who met an E.T. and befriended with the creature? That magical movie could still touch our soul. Jim Bissell was one among those people with Spielberg, who later in his career has brought to the silver screen some of the most powerful, moving, and magical film imagery of the past 30 years. Bissell began using Google SketchUp for his work in 2004, and it has since become an integral part of the design process for each of his films.

SketchUp has become an invincible tool of film making and set designing

According to Bissell, SketchUp is easy to use and its make this product invaluable. Bissell's first major success with SketchUp was in his role as Art Production Designer for George Clooney's Good Night and Good Luck (2005). The film was nominated for six Academy Awards, including a nomination recognizing Bissell for Best Achievement in Art Direction. Bissell's next project was 300 (2006), which garnered him an Art Director's Guild nomination for Excellence in Production Design. “I applied many of the lessons from Good Night and Good Luck to 300, including the way I used SketchUp,” he said in an interview.

According to Bissell, SketchUp has become even more useful over the years with the addition of features like LayOut, which lets you insert scaled views of your SketchUp models in documents you can use for both online and print presentations.

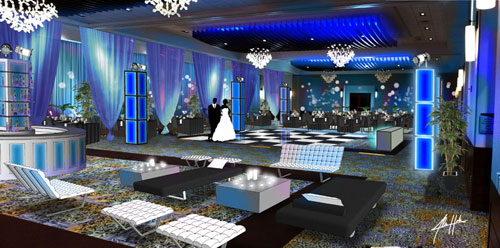
The Film & Stage plugin in SketchUp is used to discover the use of different camera lenses and aspect ratios on location or on a production set. The Film & Stage plugin includes a superior camera tool and several pre-viz components that leads to rapid development of studio sets.

SketchUp has already been vastly used in Hollywood and the programme has an immense presence in 2006 Golden Globe Awards. SketchUp 3D modeling software for designers, was involved with the making of ‘Good Night & Good Luck', a 2005 Warner Independent Film. The film has been nominated for four Golden Globe Awards, including ‘Best Motion Picture' and ‘Best Director'. Using the ‘Good Night and Good Luck' script, production designer Bissell modeled the entire studio set in SketchUp. All sets and camera angles were pre-visualized with this dynamic 3D modeling tool. The final movie maintains the integrity of the virtual sets designed in SketchUp. “I've used SketchUp to design movie sets for almost two years and I love the ease with which I can add to an existing design,” said Bissel. “Making quick edits is crucial to the movie production process and this software delivers on its promise of ease and accessibility,” he added.

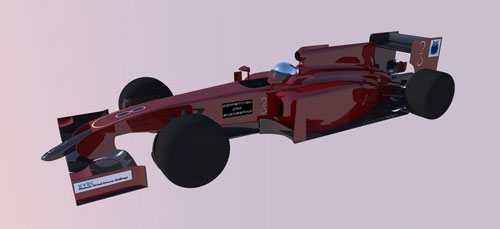
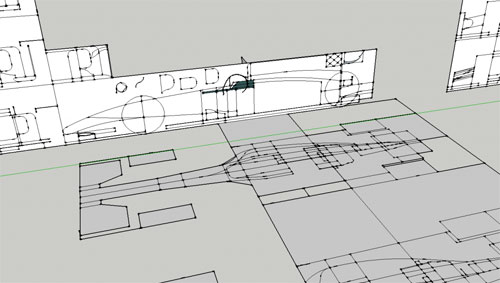
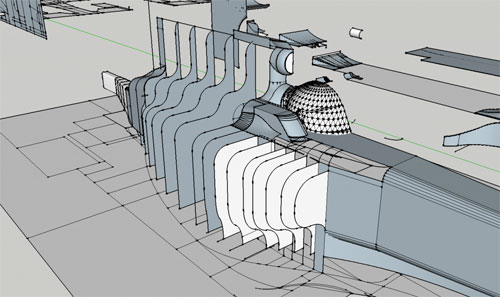
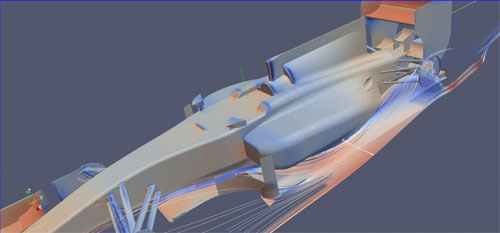
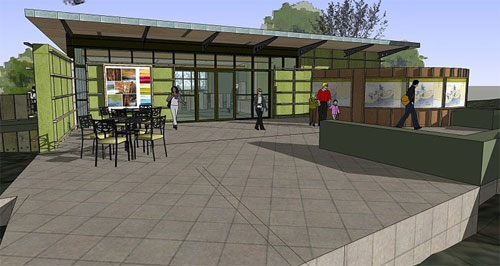
SketchUp can work with an array of cameras, lights, dollies, cranes, grips, characters and more. It uses the enhanced camera feature to plan quickly and easily shots, calculate camera angles, and obtain a 3D visual of the scene before filming. The use of sketchUp software is to create animations and visuals, constructing sets (from design to working drawings to finished set in), importing digital photos, establishing special effects and plan shots etc. SketchUp will allow a director to create a virtual 3D set and use it to create both story boards and floor plans. Make drawings of every piece of stage scenery of film location and pass them along to set designers.

There are many 3D models of accessories to create a filming atmosphere in you sketches. The "3D Warehouse" feature allows users to import models and use them for their own sets. A director can make scenes in his/her SketchUp model, and then play back those scenes into an animation. SketchUp also helps with location drawings.

SketchUp is now using to build popular TV programme’s Set designs too. Using SketchUp, the set designers quickly created wall structures, blocked out the back dining room and placed the foreground counter where the product needed to be featured for filming. Resizing walls and moving components was a snap. The designers then can add in details such as props, appliances and finally shadowing.

~~~~~~~~~~~~~~~~~~~~~~
Published By
Rajib Dey
~~~~~~~~~~~~~~~~~~~~~~

Saturday, August 30, 2014

Designing for Speed, How I used SketchUp to design racing car

The Khamsin Virtual Racecar Challenge (KVRC) is a virtual design competition in which participants design the bodywork of a virtual Formula One racing car in compliance with a subset of current FIA rules. The aerodynamic performance of the design are assessed using Computational Fluid Dynamics to evaluate the proposed design drag, downforce and distribution of forces. The aerodynamic performances are then used in a virtual laptime calculator that uses standardised engine performances and track data to evaluate the lap-time associated with the proposed design. The fastest design wins the race.

Jacopo, an Aerospace Engineering student at Politecnico di Milano, Italy, took part in the KVRC 2013 and 2014 challenge. He won the Magny-Cours race and finished overall second in the KVRC 2014 challenge, which demonstrate his high level of skills in 3D modelling in SketchUp and understanding of vehicle aerodynamic. Now, lets him share some of his design philosophy and practical tips and tools that he refined and used routinely during the challenge.

Designing for Speed, How I used SketchUp to design racing car

Designing an F1 car using SketchUp (or any other software) is quite a task. Curved surfaces, unusual geometries and functional complexity is what you must deal with as these have a large impact on the overall design perforrmance. Experience using SketchUp and modeling complex curved geometries is of great help, but practice and experimenting with SketchUp make designing a F1 car a job that everybody can do.

First steps
As mentioned before, complexity is one of the main obstacles that any F1 car designer faces. As a first step it is necessary to reduce the system to its basic and schematic components: top and side projections of the car.

Designing for Speed, How I used SketchUp to design racing car

This is a key step as it will enable you to foresee tedious geometric problems that you would otherwise detect only once the car is complete. And by then it's too late to fix easily... Nothing else but imagination and experience can help.

Naval techniques

The following step is to convert the 2D projections into a 3D realization of the car, starting with its “skeleton”. The best approach is using cross sections, which is just how it is done with some old school wooden vessel.

Designing for Speed, How I used SketchUp to design racing car
When the skeleton is completed, it needs to be covered by the“skin”, which will form the actual car's bodywork. Now, there's a bad way and a good way to do that. The bad one involves constructing the skin by hand, by joining the polygons (i.e. the sections) of the skeleton through triangles. The good one consists in using appropriate plug-in, such as “Curviloft” - my recommendation. This second way allows for a a faster and more detailed skin. It has, however, downsides that I will detail later on.

Some parts of the car, particularly small details, do require the use of more conventional methods, such as combination of extrude tool, and intersect tool...

Designing for Speed, How I used SketchUp to design racing car


The model is now pretty much constructed. Still, there are other aspects to take into consideration...

Organising design elements in groups
In order to reduce complexity, it's recommended to build the car part by part . For example, the sidepod part will be constructed separately from the underfloor, the front and rear wings parts, etc... Once each part is constructed, it's a good idea to create a group to store the part geometry by selecting the geometry, and select menu Edit>Create group. Once all parts are constructed, the entire car is assembled by matching the parts.. An advantage of “grouping” parts is that you will be able to easily modify the part itself even after the car is completed without compromising other parts.

Dealing with plug-in(s)

Curviloft is a very useful plugin, but it's more difficult to use properly than it first appear. Problems occur when it is applied to join a long sequence of polygons: it's not rare to observe (small) holes being accidentally created on the surface we want to create. This issue can be either solved manually modifying the conjunction lines between the polygons (a feature that Curviloft itself offers), or designing polygons more “wisely”. This may means\, for example, designing polygons with similar number of segments and comparable geometry, or placing the polygons at a constant distance each other. I also noticed that using more polygons yielded better results.

While it may seem that I am drawing too much attention to surface smoothness and accuracy, these aspects are essential when it comes to meeting competitive requirements for vehicle aerodynamic such as the one required in the CFD based KVRC Challenge. Attention to details was one of the key elements that allowed me to win one of the races and scoring an overall second place during the KVRC 2014 Challenge.

Designing for Speed, How I used SketchUp to design racing car

A more technical note

If you intent to construct a model just an aesthetics exercise, you can ignore this last note. But for those who are interested in challenging themselves through a Challenge such as KVRC and trying to emulate F1 engineers, I advise to pay a significant attention to the design of the wings, airfoils, underfloor and diffuser: those are areas where attention to details is a key factor. Keep in mind that you should always relate your SketchUp design work to the settings used in the CFD solver, particularly meshing. If those settings can't realistically capture and model your proposed design details, it's better not to overdesign your car.

Useful Links


~~~~~~~~~~~~~~~~~~~~~~~
Published By
Rajib Dey
~~~~~~~~~~~~~~~~~~~~~~~

Tuesday, August 5, 2014

How to download and set up Sketchup

Learn the process to download and set up sketchup in your computer system.


The process is totally free and the users will be able to download the functional version of sketchup. There will be option to buy SketchUp Pro containing additional software and tools.
In order to download and set up sketchup, the following steps should be undertaken.

1. Visit www.sketchup.com. The following page will be visible.

How to download and set up Sketchup
2. Select the button marked with red color that shows “Download SketchUp.”

3. It will transform the page to a new one enquiring why you’re downloading SketchUp. If you do not prefer to apply sketchup for a professional or commercial application, just opt for the “Personal Projects” option. For each option (professional, professional and commercial), you will be provided with an eight hour trial of SketchUp Pro’s features and a permanent copy of the free version of SketchUp.

How to download and set up Sketchup

4. Choose your operating system – Windows for a PC and Mac for a Mac.

5. Now review the license agreement thoroughly, then turn on the box ensuring that you consent to the license agreement. After performing this, the button showing “Download SketchUp Make” will be change to red color like the following.


6. (Optional) – There will other box marked as “Send me SketchUp news and tips.” You can check or un-check it. If you check it, you will get the SketchUp newsletter as it is available. The newsletter infrequently goes out with SketchUp news and other materials.

7. Select the “Download SketchUp Make” button to download the setting up program to your computer.

8. Open the downloaded files. Abide the instructions to set up SketchUp on your computer. Press finish to go out from the set-up process.

Thus sketchup will be installed on your computer.

How to download and set up Sketchup

~~~~~~~~~~~~~~~~~~~~~
Published By
Rajib Dey
~~~~~~~~~~~~~~~~~~~~~

Monday, August 4, 2014

How Desktop 3D Printers are 100% Useful to Our Daily Lives

Lets face it – desktop 3D printers are far from meeting the standards of the average consumer. They are too complex for most non-technologically-minded people, and worst of all, they can only print small, hard objects from limited types of plastic. What on earth can be so useful about printing small, hard objects?

As it turns out, quite a lot.

Just 2% of the cost

An office supplies company in Townsville, Australia called Delta Office Solutions recently experienced firsthand just how handy it can be to own a 3D printer. The company’s office dishwasher broke, due to a small part that snapped and caused the loading tray to detach from its wheels. Office managers at the company looked into ordering new parts and found that it would cost $45 and take four days. Instead of waiting, they decided on a more efficient solution that would dually save money.

Two of the company’s employees Brian Worley and Adrian Smith took on the challenge of using the office’s desktop 3D printer to make the dishwasher piece themselves. They used Google’s free Sketchup design app to make 3D model files of the part, and they put their printer to the test. Within three hours, the pair had a brand new, 3D printed exact replica of the piece in their hands.

Worley said it cost them just $1.60 for the cost of materials – about two percent of the retail price. “It can take up to four days to get missing parts and other stuff from Sydney but now people can make things on their own,” said Worley.

Saving money while making a little extra on the side, too

This team of Australians is far from being the first to take advantage of the handy convenience of a desktop 3D printer. In May, we spoke to an entrepreneur by the name of Christopher Sweeney who used his MakerBot desktop printer to solve “at home fix-its” in his Hawaii home and had even turned his endeavors into a company, selling bespoke objects to people around the US.

“The options for what I can make are limitless. I can make anything as simple as an office desk accessory such as a pen or card holder, to something as complex as a custom art piece,” said Chris. “It has also been convenient to solve ‘at home fix-it’s’. If something breaks, instead of having to go to the hardware store hoping they have the part I need in specific dimensions, I can create the broken piece in a matter of hours.”

So if you have ever found yourself rushing to Home Depot to overpay for a specific part, tool or gadget, or if you have ever had to wait more than a few hours for the arrival of a part that is absolutely pivotal to the functionality of your showerhead, dishwasher or TV stand, then perhaps it is about time you looked into investing in a desktop 3D printer.

How Desktop 3D Printers are 100 percentage  Useful to Our Daily Lives

How Desktop 3D Printers are 100 percentage Useful to Our Daily Lives

~~~~~~~~~~~~~~~~~~~~~~
Published By
Rajib Dey
~~~~~~~~~~~~~~~~~~~~~~

Sunday, August 3, 2014

3D modeling with Sketchup make Trimble

Basic Course organized by the Order of Architects PPC of the Province of Forlì in collaboration with Visuall SRL.S. have been recognized, no. CFP 6 from CNAPPC .

The objective of the course is to give participants the tools needed to design and modeling three-dimensional objects from design to architecture. At the end of the course the student will be able to use all the tools for modeling, listed models and management of the views to be able to print their work or share them on the screen and by e-mail.

Participation fee € 130.00 + VAT registration closes : 15/07/2014 length n. 6 hours

Mode of entry send the request for pre-registration form to: Visuall SRL.S (visuall@visuall.it), stating its personal and fiscal (tax code., and P. Iva), telephone and email. From the date of confirmation of registration, which will be forwarded via e-mail from Visuall SRL.S, and / or communicated by telephone, the subscriber will have to proceed to the payment of the balance in the time of the next 3 days, sending the response of payment via e-mail. If you do not receive the indicated time, the enrollment will be canceled.

Appointment : Saturday, July 19, 2014 from 8.30 to 12.30 and from 13.30 to 15.30 at Visuall Showroom via Decius Rays 2, Forli

3D modeling with Sketchup make Trimble

3D modeling with Sketchup make Trimble

~~~~~~~~~~~~~~~~~~~~~
Published By
Rajib Dey
~~~~~~~~~~~~~~~~~~~~~

Friday, August 1, 2014

Inside3DP Exclusive : 3D Printing Maven Releases Four New 3D Printers

3D Printing maven and inventor Richard Horne released 4 new 3D printers today sharing the files for them so that anyone can use these designs. Richard has been doing a lot of innovating in color mixing, deltas and different extruders for the past few years.

The geared peristaltic quick fit extruder for example lets you 3D print in many different materials. He also comes up with lots of great designs such as a pencil topper for kids and a 6 stage planetary gears set. This time Richard raises the bar even higher with a 1.80m Delta 3D printer, the 3DRMega.

This huge machine lets you make really large objects and is a real breakthrough. Instead of tiny things this enables the making of true human scale objects such as chairs, tables etc.

Richard used Sketchup to design the printer. He completed it in February this year but redesigned it since then. The printer uses LM10UU bearings and rods, NEMA 23 steppers, the ARM Smoothie board & the Delta arms are made from carbon fiber tent poles as well as a redesigned geared extruder. A 10mm clear corrugated poly-carbonate roof sheeting is wrapped around the frame.

The printer uses around 2 Kilo of 3D printed parts. An interesting element is that the printer is designed to be “bottomless” in that you could place it on an object and then print on top of this.

This means you could in situ 3D print on top of an existing structure. All the motors and other electronics are mounted at the top of the printer. You can put in a base of 12mm Ply base, Cork insulation, thermally reflective sheets made from Bar B Que grill pads with 4mm sheet of glass on top. This gives the 3D printer a heated build chamber.

I contacted Richard and had a quick interview with him about his new gigantic 3DRMega.

Joris Peels: Why did you make this huge machine?

Richard Horne: The wish list for designing 3D printers and new applications is growing ever longer. Also I noticed that bigger 3D printers, even normal desktop size ones were increasing in cost substantially. I wanted to get back to a machine you could print and build yourself, but with high quality results.

Joris Peels: Who did you make this for?

Richard Horne: My initial target was to artists for large prints and also for sculpture and furniture. I have various extruders in development, one pumps clay/ceramic and even chocolate materials via a pressurized tube. You can’s use syringes of material as they don’t even last for one layer of a big print. A constant flow of material is essential. Other extruders are using screw drives. This new extruder design is a very exciting area for development and once established and refined will change the landscape of 3D printing, a real game changer.

Richard Horne: Ideally I would like to make custom printers for specific applications and then help refine that use with people who need good results. Like all my developments I like to see what people think about it and also what they would like to be able to do with the machine.

Joris Peels: Can I buy one?

Richard Horne: I tend to keep my prototypes, but really I should sell some to make space.
Joris Peels: Will you sell it as a kit?

Richard Horne: This 3D printer would work very well as a kit and extending or shrinking it’s size is all down to the aluminium extrusions. So it’s a very flexible design to make a printer whatever size you need.

Inside3DP Exclusive : 3D Printing Maven Releases Four New 3D Printers

Inside3DP Exclusive : 3D Printing Maven Releases Four New 3D Printers

~~~~~~~~~~~~~~~~~~~~~~
Published By
Rajib Dey
~~~~~~~~~~~~~~~~~~~~~~